How Real Estate Agents Can Batch Watermark Listing Photos (and Stop Photo Theft)
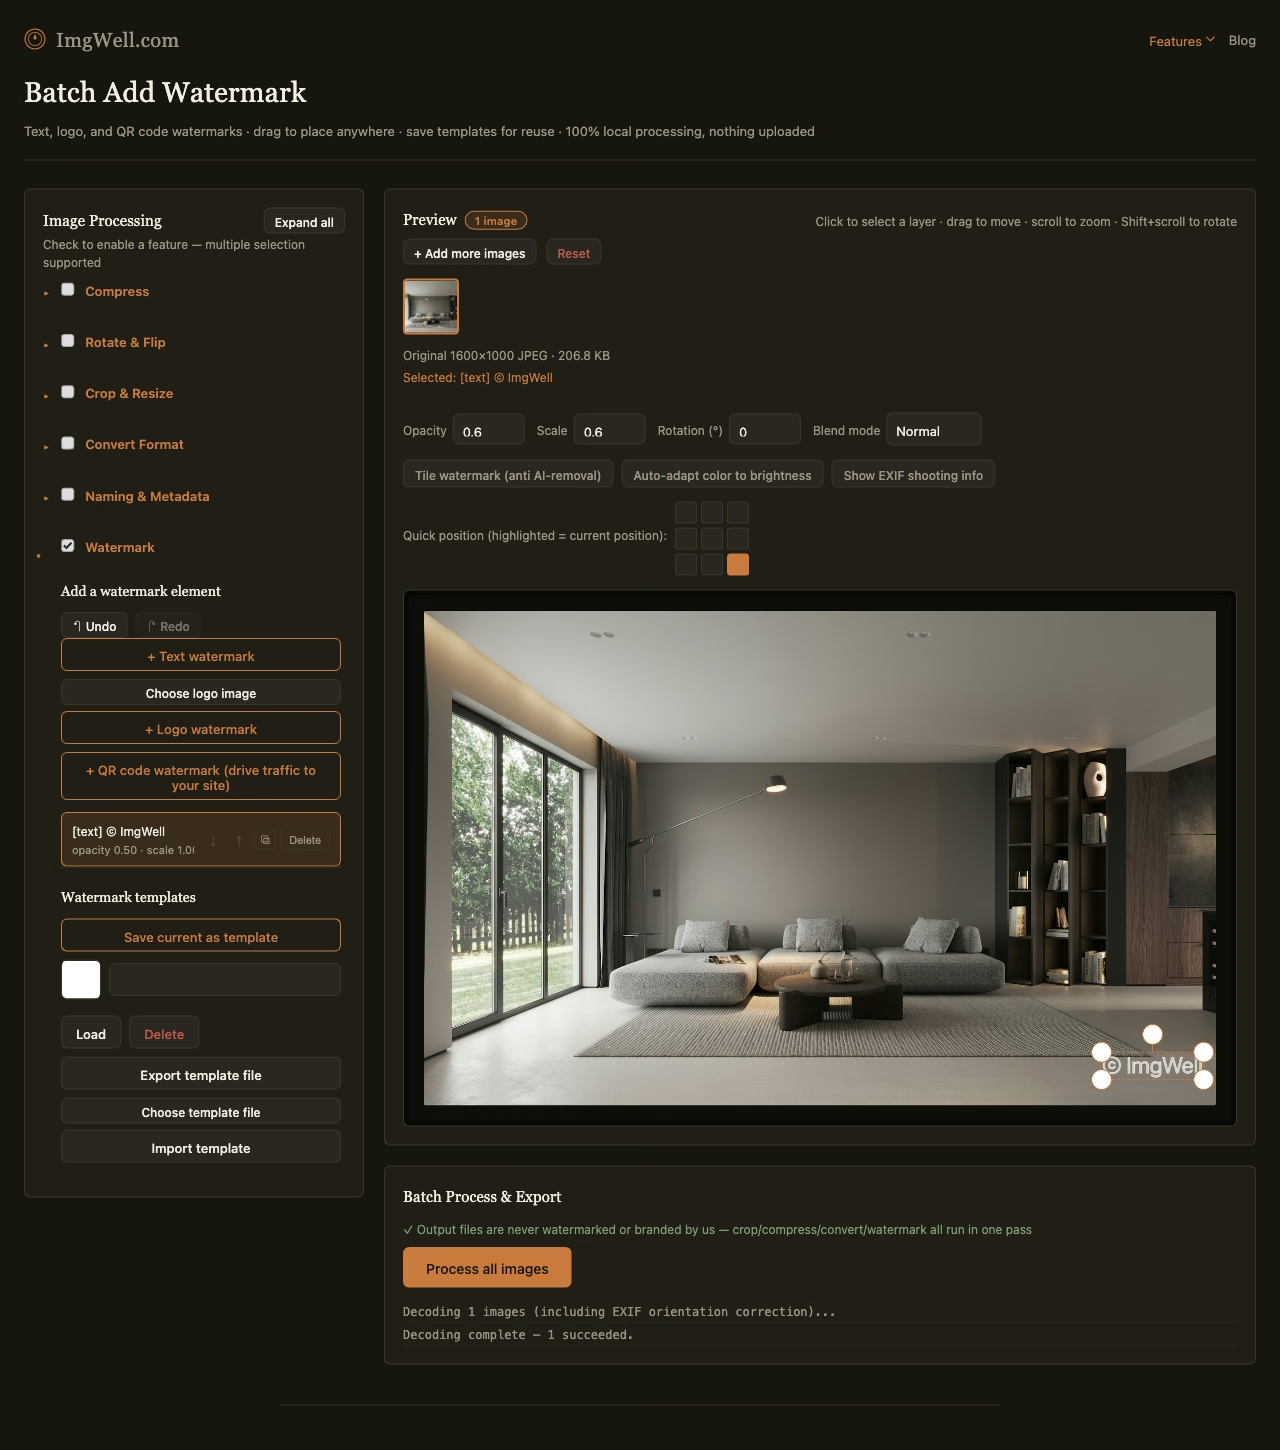
A single listing shoot is usually 20–40 photos. If your workflow for watermarking is “open each one in Photoshop, add a text layer, export” — that’s the part of your job that eats an entire evening for zero reason. Here’s the faster version, and why it’s worth doing at all.
Why listing photos specifically get stolen
Real estate photos have a shelf life problem: they’re public by design (that’s the point — you want buyers to see them), which also makes them trivially easy for other agents, wholesalers, or scraper sites to pull straight off the MLS or your brokerage site and repost as their own. It happens most often with:
- Wholesalers and off-market “investor” sites that scrape MLS photos to advertise deals they don’t actually control
- Competing agents reusing your staging and photography for a similar listing
- Third-party listing aggregators that don’t always credit the source
A watermark won’t stop someone determined from screenshotting anyway, but it does two things that matter in practice: it makes casual reuse obviously traceable back to your brokerage, and it’s a visible signal that the images are attributed — which is often enough to deter the low-effort scraping that’s most common.
What actually works for listing photos (and what doesn’t)
Real estate is one of the few cases where the aggressive, tiled anti-theft watermark most guides recommend is usually the wrong call — a repeating pattern across an interior shot looks unprofessional and undermines the staging you paid for. What works better here:
- A small, consistent brand mark — your brokerage logo or name, placed in the same corner across the whole set, low opacity so it doesn’t compete with the photo
- Consistency across the shoot matters more than aggressiveness — buyers (and other agents) recognize a listing photo set by its watermark placement; that consistency is itself part of what makes theft traceable
Batching a full shoot in one pass
Our batch watermark tool runs entirely in your browser — nothing uploads, which matters if you’re watermarking photos before a listing officially goes live.
- Drop in the whole shoot at once (folder import works, so you don’t have to select 30 files one by one).
- Add a text watermark with your brokerage name, or a logo watermark if you have one — set it once.
- Drag it to the corner you want, set Opacity low enough that it reads as a brand mark, not a stamp over the photo.
- Process the batch — every photo in the shoot gets the identical placement and opacity, so the set looks consistent instead of hand-applied one at a time.
- Save current as template once you’re happy with the placement — the next listing’s shoot is then a two-click job, not a from-scratch setup.
That last step is the actual time saver if you’re doing this every week: set the watermark placement once per brokerage, reuse the template forever.