How to Resize Images Without Losing Quality
“Resizing ruins quality” isn’t really true — shrinking a photo down doesn’t inherently damage it. The quality loss people actually run into comes from a small number of specific mistakes, not from resizing as a concept.
Downscaling doesn’t lose quality the way people think
Making an image smaller (fewer pixels) is the safe direction. You’re discarding pixel data, but at a smaller display size that data wasn’t visible anyway — a photo shrunk from 4000px to 1200px wide and viewed at 1200px looks sharp, because every pixel it now has is doing real work. The “resizing hurts quality” reputation almost always traces back to one of the three things below, not to downscaling itself.
The three actual causes of quality loss
- Upscaling past the original resolution. Making an image bigger than its source resolution doesn’t add real detail — the extra pixels are interpolated guesses, which is what produces the soft, blurry look people associate with “resized and ruined.” If a photo is 800px wide, stretching it to 2000px will look worse than the original at 800px, no matter how good the resizing algorithm is.
- Stretching instead of scaling proportionally. Setting a width and height that don’t match the original aspect ratio distorts the image — circles become ovals, faces get subtly warped. This is a data-entry mistake, not a resizing limitation: proportional scaling (one dimension set, the other calculated automatically) can’t produce this problem at all.
- Re-compressing heavily on top of the resize. Resizing and compressing are two separate operations. A resize followed by aggressive JPEG compression can look noticeably worse — but that’s the compression step doing the damage, not the resize. Keeping compression at a reasonable quality setting after resizing avoids stacking both effects into one visibly degraded image.
How to resize a batch without hitting any of these
Our batch resize tool runs entirely in your browser — nothing uploads — and is built so the safe path is also the default one.
- Drop in your photos (folder import works for a whole batch at once).
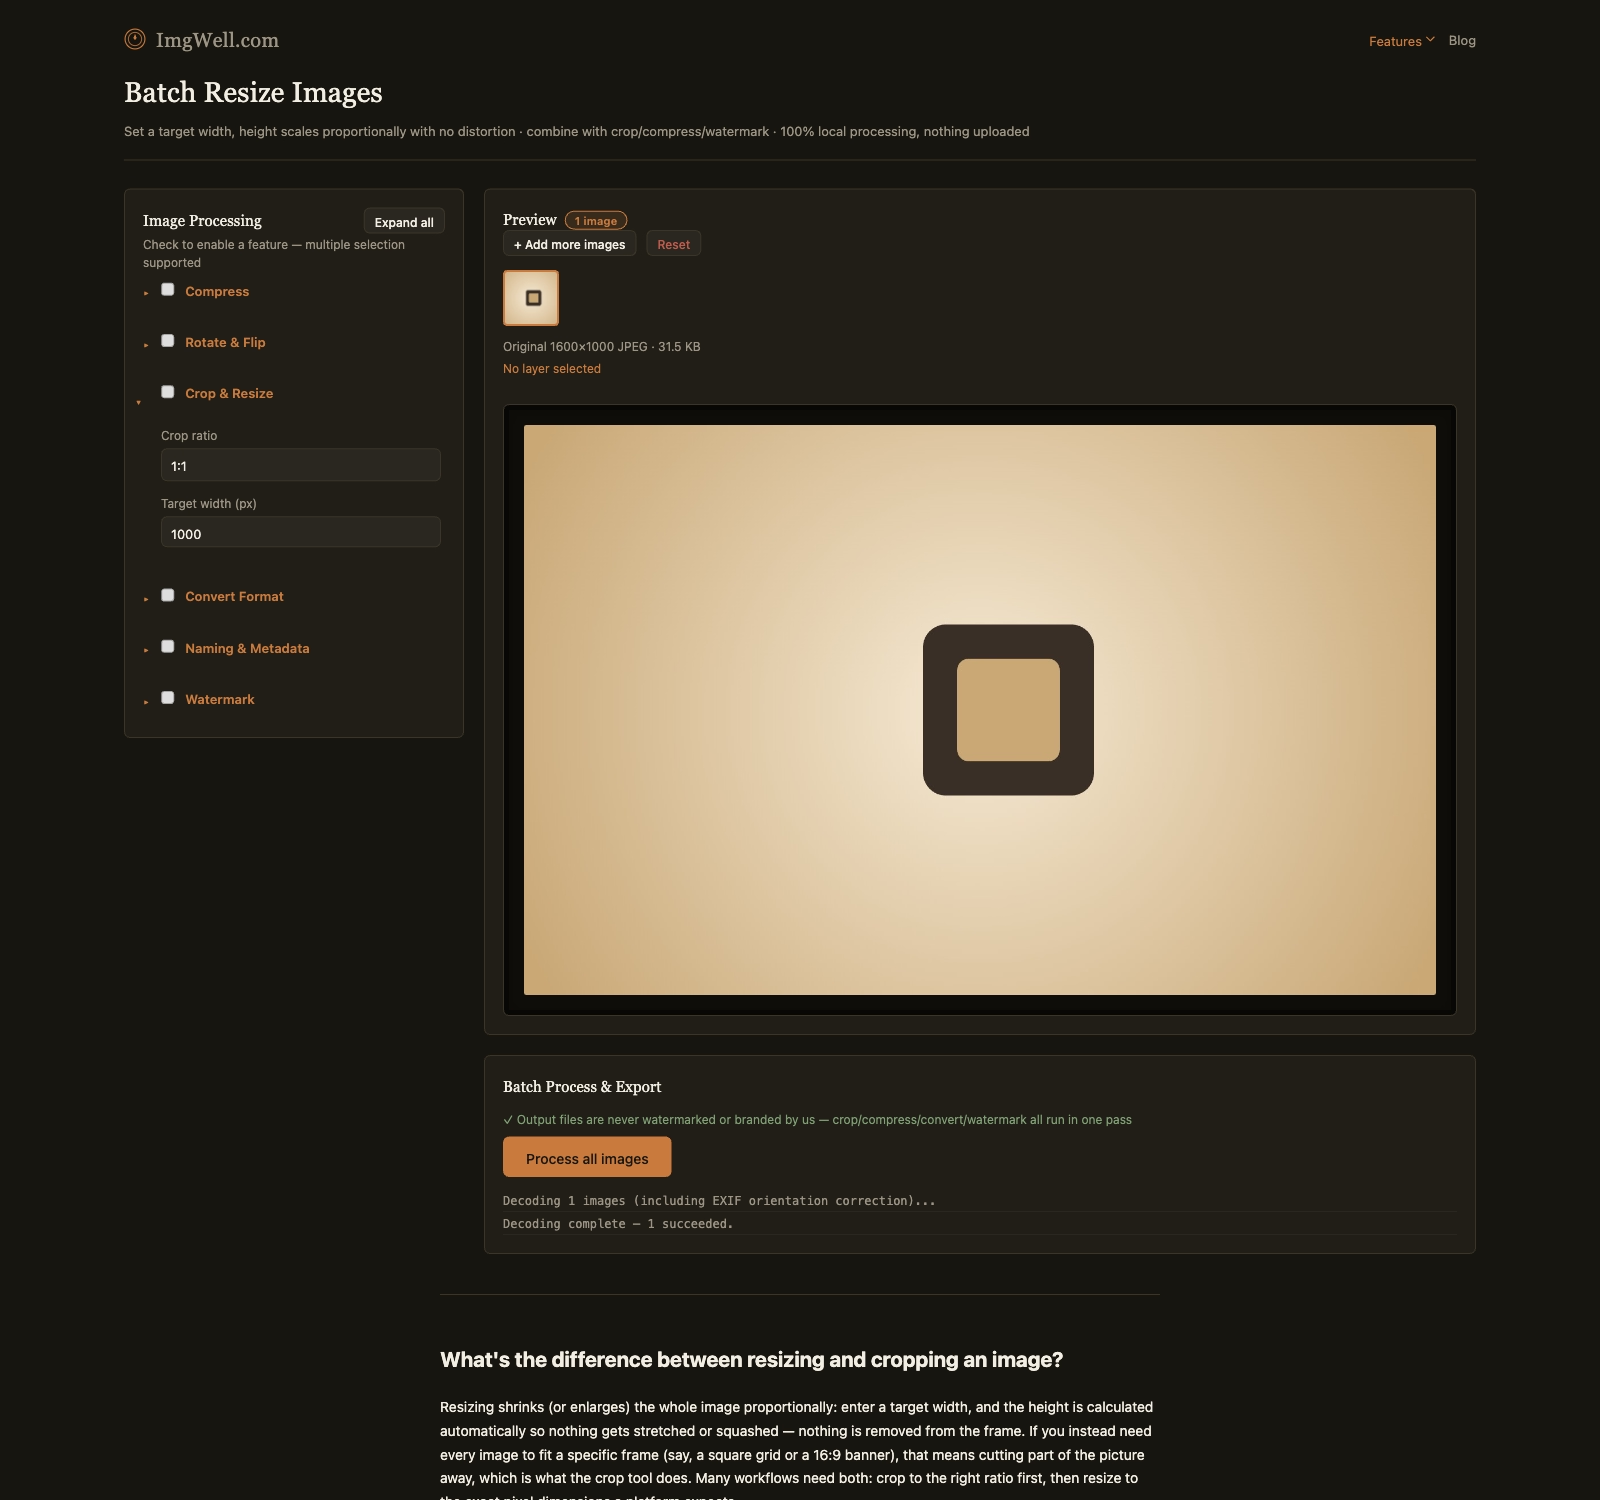
- Open Crop & Resize and set the Target width (px) field. Only width is settable — height is always calculated automatically to match the original proportions, so proportional distortion isn’t possible through this tool.
- Check the image-info line for each photo’s original resolution before you commit, so you know you’re scaling down (safe) rather than up (soft/blurry) for that particular batch.
- If you’re also compressing in the same pass, keep the quality setting moderate rather than pushed to the minimum — that’s the step where visible quality loss actually happens, independent of the resize itself.
Resizing correctly is mostly about which direction you’re scaling and not compounding it with a separate lossy step — not about the resize operation itself being risky.